How does Arduino-Python3 Work?
The version of arduino-python3 that we are using is developed by Morten Kals from Engineering Physics at UBC. Following the instructions on the homepage, we see that first we need to configure our Arduino board with the prototype.ino sketch, which is written in the Arduino language.
The Arduino language should look fairly standard for those who are familiar with C or C++. Nonetheless, all we need to focus on for now is the last two function definitions in prototype.ino — setup() and main(). Whenever the Arduino board resets, the first function is executed once, followed by executions of the second function in an endless loop.
In setup(), all the code is doing is setting up serial communication. Think of as opening up a communication channel between the host computer (lab machine) and the Arduino board. The channel will be used to send information one bit at a time later.
On the other hand, loop() calls a single function to parse the information received on the serial channel. Essentially, the function reads and parses messages coming from the host computer, and executes predefined functions on microcontroller accordingly. For instance, if the message contains "dw", then run function corresponds to digital write.
Programming with Python
One thing to note is that we are not directly programming an Arduino in Python. The program on the Arduino is prototype.ino. The Python scripts which we will write send commands in real time to Arduino via USB. As soon as we stop executing the Python script on the host computer, our Arduino will immediately stop running.
Configuring for Arduino-Python3
Loading Arduino-Python3 Program
We have preloaded all the Arduino boards for this summer camp. If you wish to use the same setup as in the camp elsewhere, follow the instructions below.
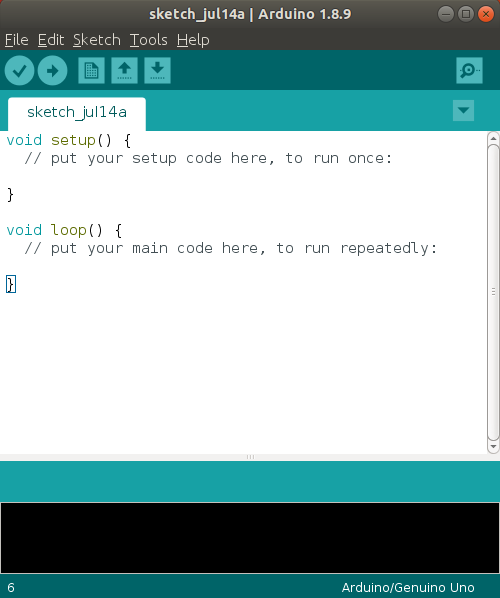
- Install and launch Arduino IDE. Once it is launched, you should see a window pop-up as follows. In the Arduino language, a sketch is just a Arduino program.
Connect Arduino to computer via USB. Under
Tools, check thatBoardhasArduino Nanoselected,Processor→ eitherATmega328PorATmega328P (Old Bootloader), andPortshould point to the proper USB port.- If you are not sure which USB port is for the Arduino, try unplugging the USB port and see which one disappears from the list. There is no harm when a wrong USB port is selected, so you can also just try all of them.
Open new file with
File→Newand paste the content from prototype.ino. Finally press theUploadbutton to load the program. The loading process should take about one second.When pasting the content, we want to completely overwrite the old file.
The
Uploadbutton is the ➡ symbol near the top of the window. Before you can upload a sketch, the Arduino IDE may ask you to save the sketch. Just choose a folder and name – The IDE will create a folder with name specified, you can safely remove this folder afterwards.
Check to verify that the sketch was uploaded successfully.
Upon successful upload, the Arduino IDE will show a message
Done uploadingjust below the text editor area.If upload failed, it will turn red with a message
An error occurred while uploading the sketchorProblem uploading to board. The first error is likely caused because the processor is not selected properly, choose eitherATmega328PorATmega328P (Old Bootloader). In the second error, the problem is likely because incorrect USB port was selected.